
FISHER T-TOP DISASSEMBLY
Ever wondered what was lurking underneath the plastic trim panel on your Fisher t-tops in your 1978-81 Trans Am? Team Hoghead has opened up a set of Fisher t-tops to see what was inside. Now you too can have no fear in removing that plastic trim panel!!
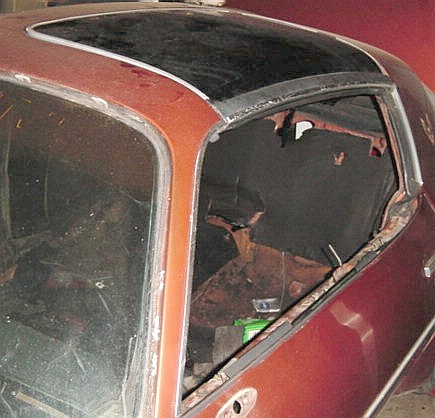
| Here you see a Fisher t-top with the optional B80-Drip Molding for t-tops. Let's take that t-top out and see what's hiding inside. | |
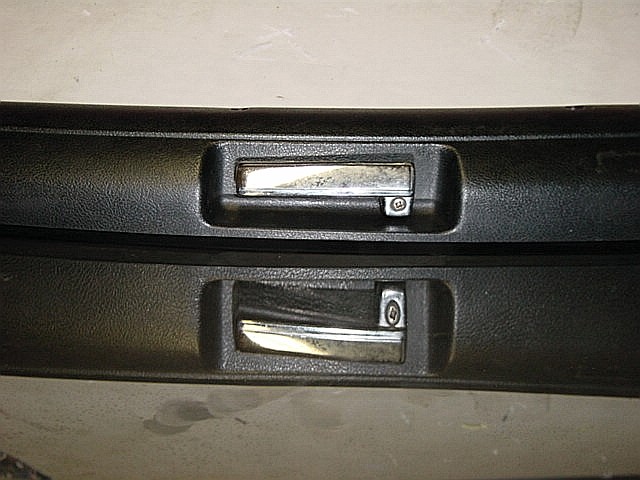
| There's the trim panel with a latch rod sticking out. You'll see there are 4 Phillips head trim screws holding the trim panel on...you need to take them out. | |
| Here's the ultra-rare high security, double-latching t-top....not really, just a neat reflection. Now remove the Phillips head screw holding on the handle and the trim panel will come off. | |
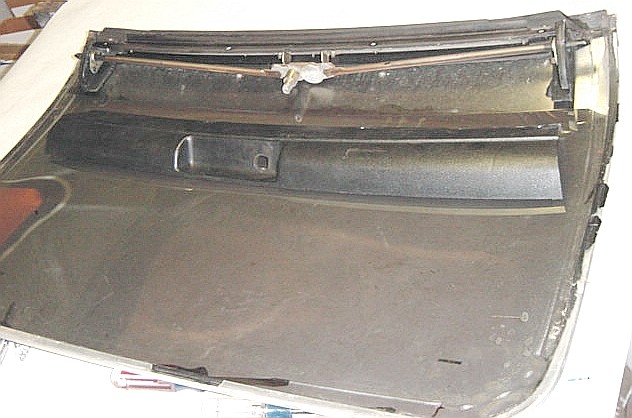
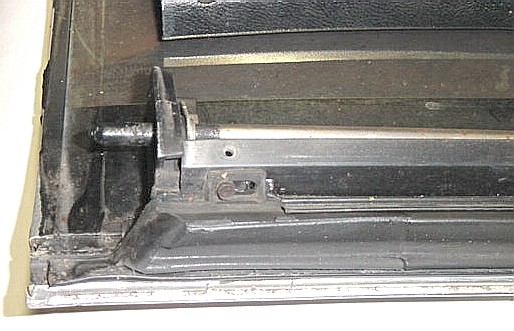
| Now that the trim panel is off, you can see the latching mechanism is all of its glory. If your mechanism is bad or you just like to take stuff apart, read on to see how.................. | |
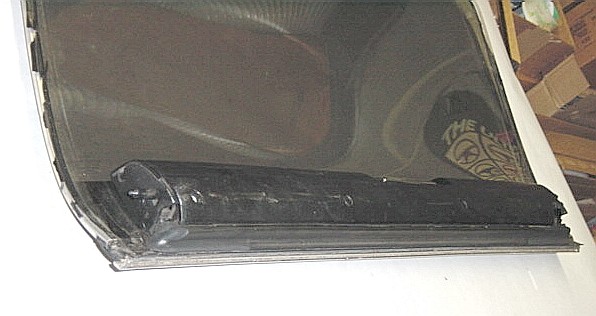
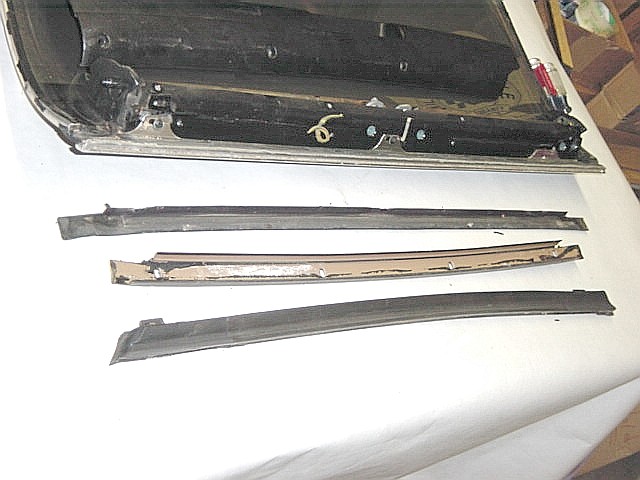
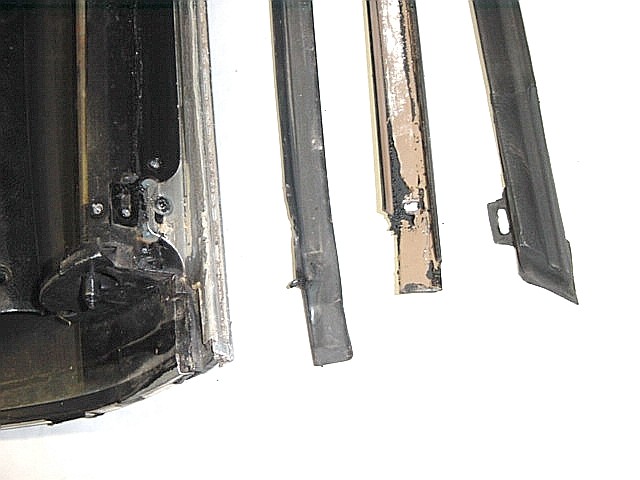
| Now you're gonna have to take off the weatherstripping that seals the t-top to the top of the door glass. There are two small hex-head screws (one at each end) that you'll have to remove using a 9/32 socket. You can see one of the two screws here. | |
| Once you get the screws out, you'll need to take a gasket scraper, flat blade screwdriver, or whatever to "encourage" the weatherstripping to come out of the metal channel (the light brown channel shown) since it will have glue/sealer holding it. You can see the weatherstripping removed and notice the two mounting tabs on the weatherstripping. | |
| Here you can see the light brown metal channel that holds the weatherstripping. There are 4 Phillips head screws that retain the metal channel that you'll have to remove to get the channel out. Notice the strip of rubber between the metal channel and the drip rail molding. | |
| Here's the metal channel removed. The rubber strip can now be removed to reveal the two mounting tabs for the drip rail molding. | |
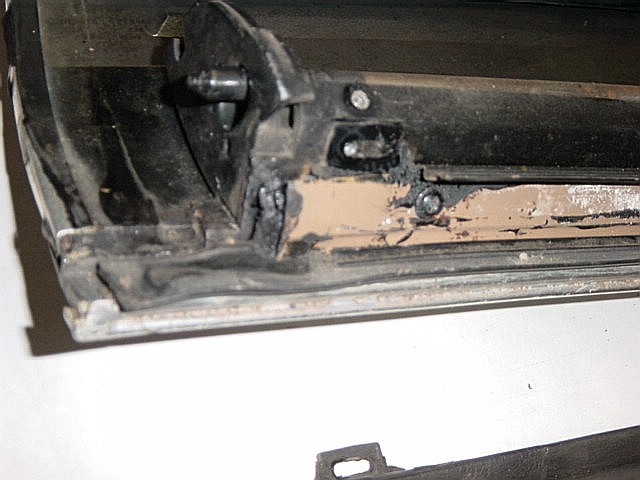
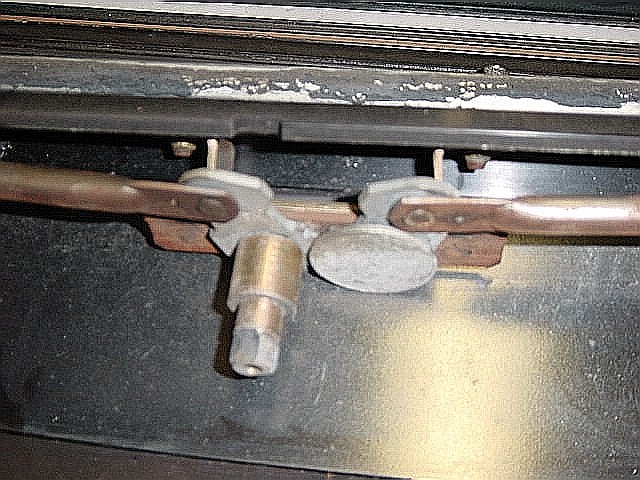
| With the rubber strip removed, you can see the 2 Phillips head screws for the drip rail molding. You can also see the 6 light blue Phillips head screws that hold the latch mechanism and latch rod support brackets to the aluminum support that is sealed/glued to the t-top glass. | |
| Here's a closer shot of the weatherstripping, metal channel, rubber strip, and the drip rail mounting tab. | |
| There is a guide/retainer that the latch rods pass through that are held to the metal support bracket with 2 hex-head screws. Use your 9/32 socket to get them out. | |
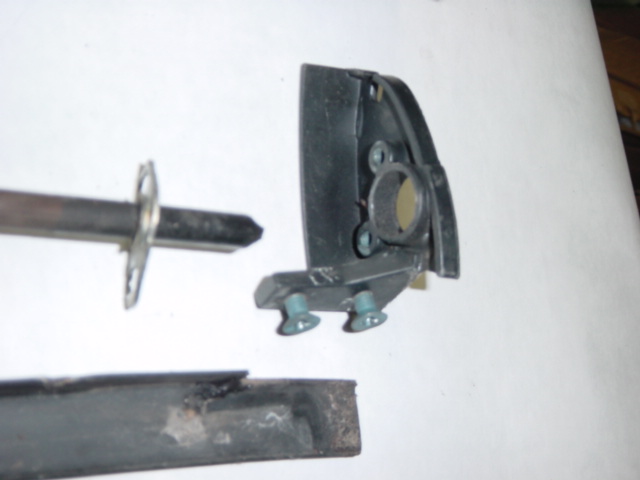
| Remove the 2 light blue Phillips head screws from the latch mechanism and it will come right out. If you look close, you'll see that this mechanism is two meshed gears that move the latch rods in and out. | |
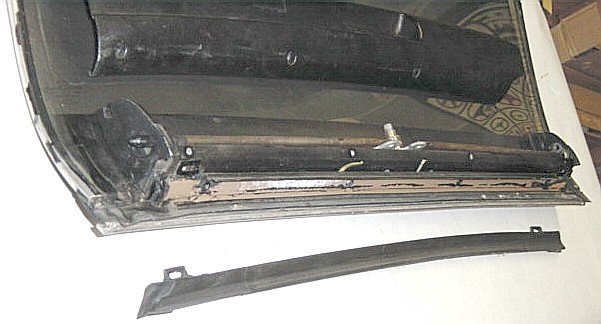
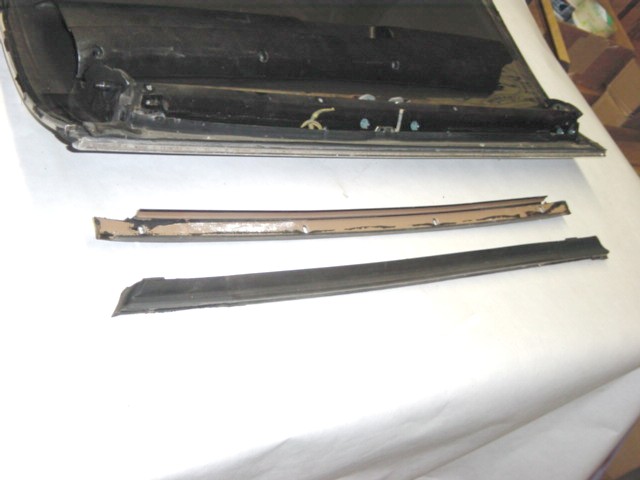
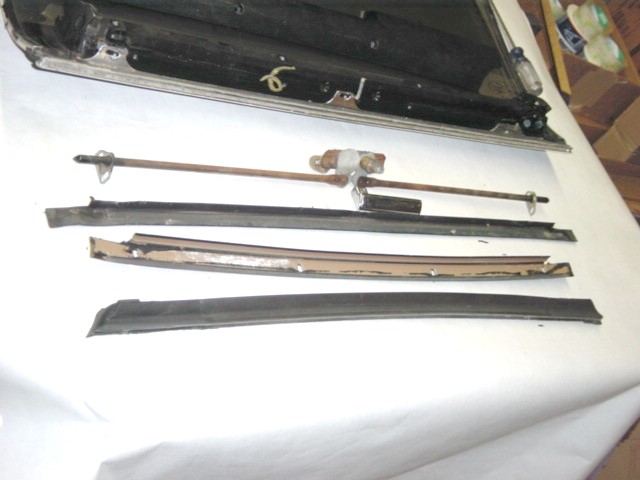
| Here's all the t-top hardware that's hiding underneath your plastic trim panel. | |
| This is a picture called "The Point of No Return." This is one of the two aluminum brackets that are supports/guides for the latch rods. These brackets are attached the the main aluminum bracket by the 2 light blue Phillips head screws shown and the curved base is glued/sealed to the t-top glass. If you remove these babies, you'll have to make sure you apply new glue/sealer to the base and attach it securely to the glass to prevent rattles. | |
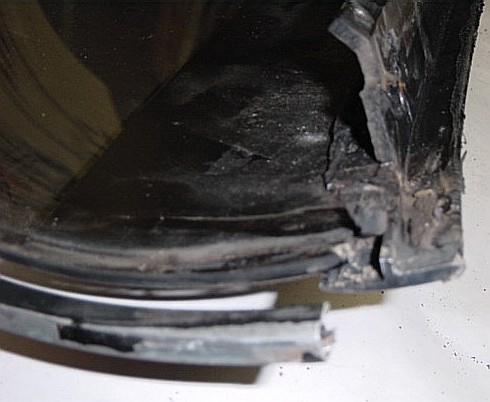
| Here's an end shot showing the aluminum bracket and the aluminum channel that runs around the edge of the t-top glass. The aluminum bracket is glued/sealed to the t-top glass as is the aluminum channel. I think it is possible to replace the aluminum channel that runs around the edge of the t-top glass, but don't think I'd mess with the aluminum bracket. | |