
Quarter Panel Replacement
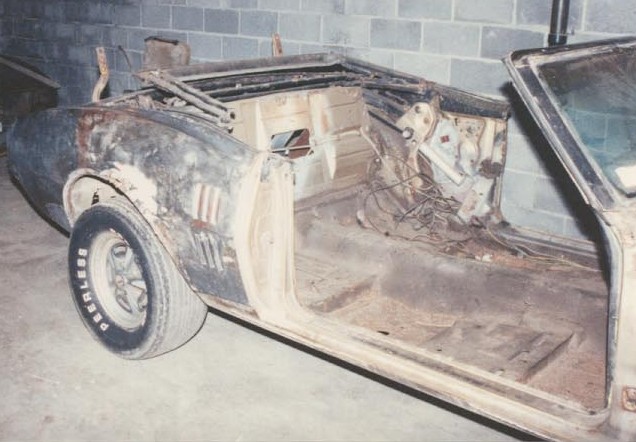
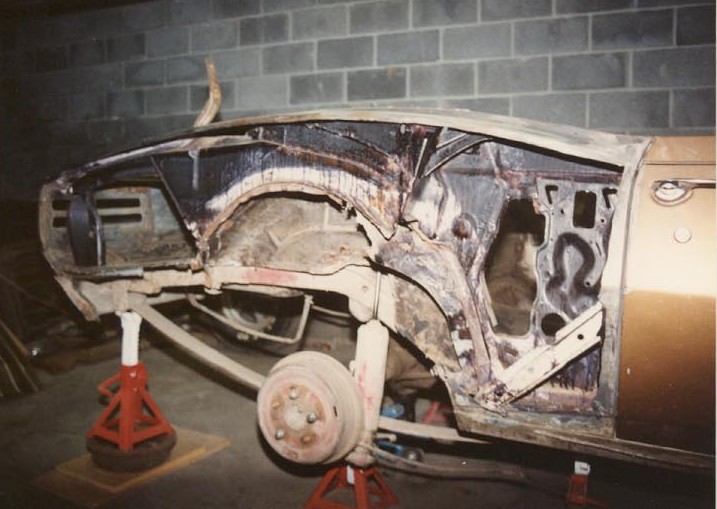
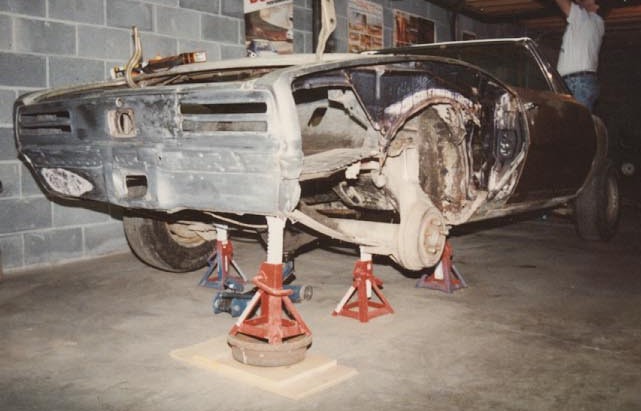
Team Hoghead is not ALWAYS killing off Firebirds and Trans Ams. We do actually try to save some of them!! Below is our experience in replacing the quarter panels in a 1967 Firebird convertible. Replacement quarter panel "skins" were ordered and installed. We opted not to use a flanging tool or to lap weld the new panels since our goal was to complete the repair without any visible seams. This 1967 Firebird originally was equipped with the 326 cid, 2 bbl engine along with the two speed automatic transmission. It had drum brakes on all four corners and manual steering. The only real option on this Firebird was that it was a convertible. The owner opted to add front disc brakes, quick ratio power steering box, multi-leaf rear springs, 3.08:1 limited slip differential, 455 cid engine, 4-speed Muncie transmission, an other goodies. We completed the bodywork on the body shell and doors, rebuilt the front and rear suspension, and painted and detailed the front and rear suspension, subframe, and underbody. Unfortunately, the owner sold the Firebird before we could finish it.
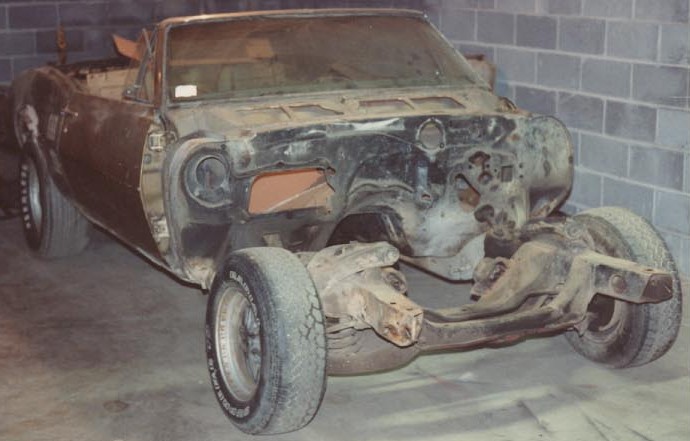
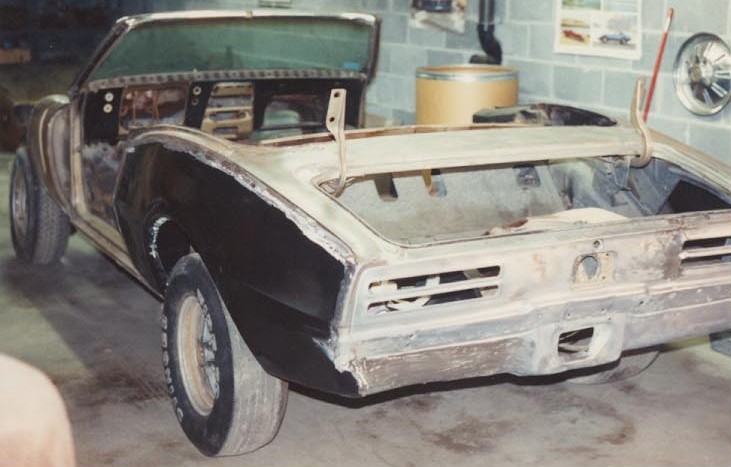
| Here's a shot of the '67 Firebird convertible after disassembly down to the body shell, doors, and subframe. Believe it or not, the previous owners of this car had filled the "gills" in the rear quarter panels with BONDO in an attempt to turn this Firebird convertible into a Camaro convertible!! The shame of it all!!! We decided to restore its true identity and dignity as a Firebird!! | |
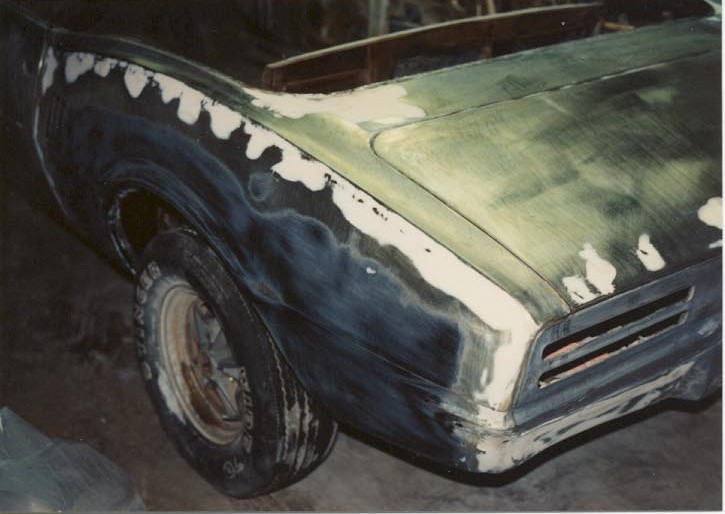
| The quarter panels were then chemically stripped to bare metal using a product called Aircraft Stripper. An interesting find was that corrugated, simulated woodgrain aluminum trailer siding was pop riveted over the fender lip in a poor attempt to patch the rust holes. The quarter panels, outer wheel houses, and trunk extensions were all rusted beyond repair and needed replacement. Time to get out the cutting wheels, spot weld cutter, and other assorted instruments of destruction!! | |
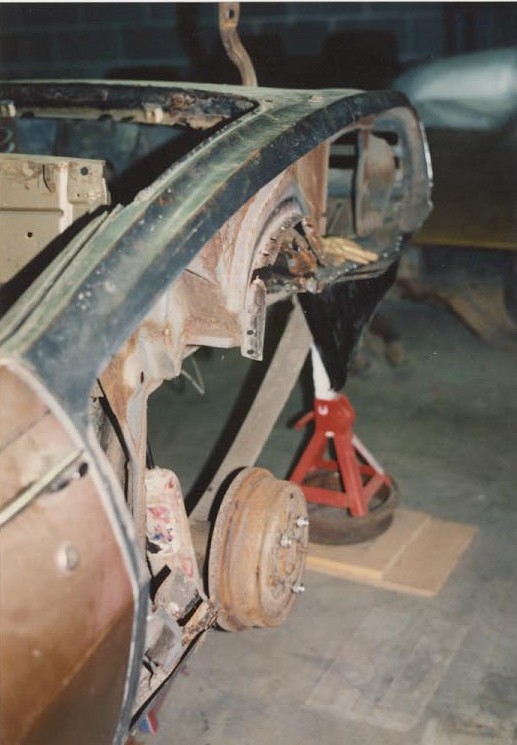
| We're talking some major sheet metal surgery....what you would call a Radical Quarter-ectomy, requiring massive amounts of sheet metal removal to cut out all of the "cancer" (rust). As you can see, we've cut out the quarter panel "skin", leaving a lip around the top and sides. We've also cut out the trunk extension and the outer wheelhouse. No restoration guides I've seen recommend removal of the inner wheelhouse. You cut out too much of the structural support by doing so. We welded up some small holes in the inner wheelhouses. | |
| Why all the jack stands you say?? Well, before performing a Radical Quarter-ectomy, you must have the doors on the body shell and SHUT, and plenty of jack stands to support the wimpy body once you cut it up. Once we had cut out both quarter panels, trunk extensions, and outer wheelhouses, the doors would no longer open and were wedged shut due to body sag!! Don't worry though, because it will all take care of itself later during the welding!! | |
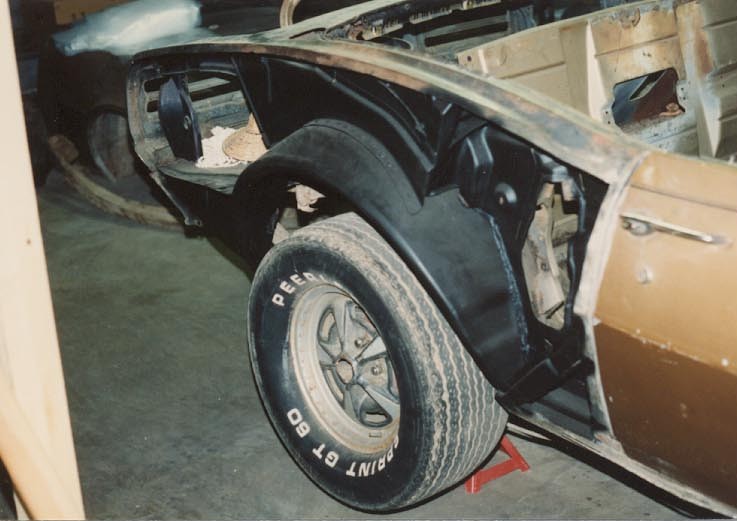
| You will notice in this photo that you can see how we used the spot weld cutter to remove the outer wheelhouse and leave the flange to attach the new wheel house using plug welds. It's just really strange to be able to look all the way through the car now!! Now is also the time to properly clean and rust-proof all of the structural support that you won't be able to get to once the new quarter panel is in place. | |
| Now doesn't that look MUCH better!! Here you see we've completed the installation of the new outer wheelhouse and the trunk extension. We've also cleaned and rust-proofed the structural supports. Areas like this are just begging for some POR15!! | |
| I know you're just on the edge of your computer chair wanting to know what's coming next......yeah right....so to keep you from nodding off, we'll go straight to the fit-up of the new quarter panel skin. We took the replacement quarter panel, fit it over the existing quarter panel and tack welded it in place. We then took a cutting wheel (the thinner the cutter wheel the better) and cut THROUGH the new panel and the lip of the old panel. We then butted the new panel at the cut line up to the existing panel and put a tack weld on it. We then continued this process of cutting and tack welding every 6 to 8 inches. The lip of the existing panel that was cut was removed by reaching in through the trunk and pulling it out. As you can see, you have the new panel match-cut, butted up, and tack welded to the existing remainder of the original quarter panel. Then you will "stitch weld" everything up. You'll make a 1 to 2 inch weld bead, then move to another location and do the same thing. This way you won't build up excessive heat in one area and warp your new quarter panel!! | |
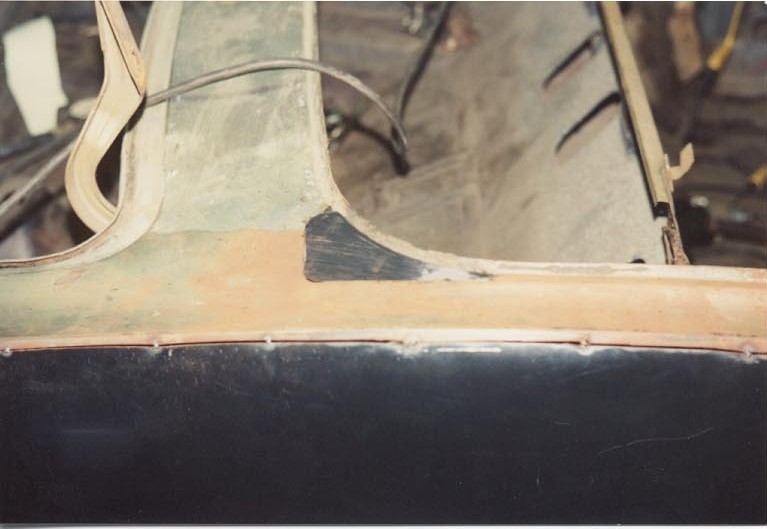
| Here's what your weld seam should look like when your done welding and grinding. You will also want to finish grind the back side of this weld seam to completely hide this seam. | |
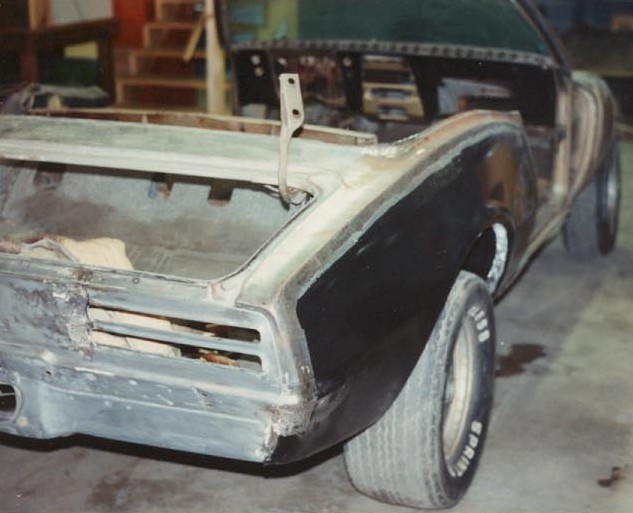
| Here's the quarter panel after the welding and grinding is complete. NICE!!!! Notice that we have welded ALL the way around the new quarter panel skin....including welding in the wheel lip to attach the quarter panel skin to the new wheelhouse. You'll also notice that the DOORS are missing. You know what that means....yes, the doors open and close just fine once all of the welding was completed!! | |
| Here's what the other quarter panel looks like after welding and grinding. | |
| Here's the quarter panel after application of a very thin coat of body filler to finish off the body work. The body filler in the weld seam is so thin that a weak magnet (commonly referred to as a refrigerator magnet in these parts) will actually stick to it!! | |
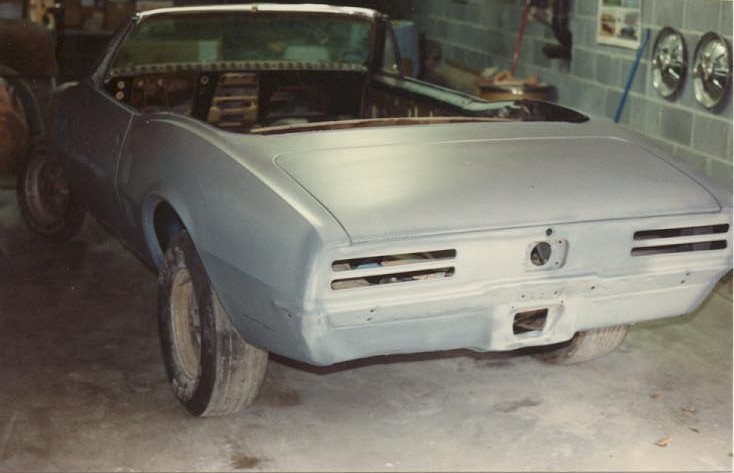
| Here's what the body shell looks like after a coat of primer. As you can tell by this picture, we've still got some work to do on the rear valance panel on the left side, but other than that, things are looking really good! | |
| Here's another picture of the body shell after bodywork and primer. It's just screaming "BLOCK SAND AND PAINT ME!!!" | |