
1977 Oldsmobile Cutlass Project
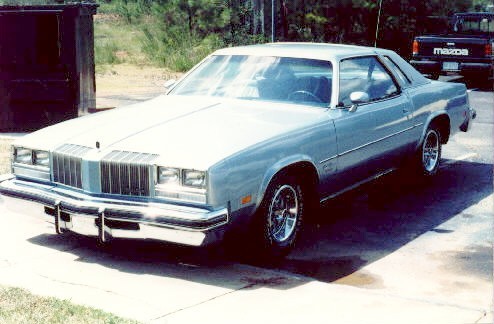
My mother special ordered this 1977 Oldsmobile Cutlass Brougham. I tried to convince her that she really needed to order a 442 or at least a Cutlass Salon, but she wanted the Brougham. She did order it with the Oldsmobile 403 engine (instead of a small block "corporate" Chevy engine) and she did order the Rallye III styled steel wheels. I remember going with her to pick it up after it had been delivered to the local Oldsmobile dealership... ahhh the smell of a brand new car!! Mechanically, it was a great car. But the poor GM acrylic lacquer factory paint plus the poor GM corrosion protection plagued this Cutlass with paint problems. I bought this car from mom in 1985 with 90,000 miles on it. A guy at work aggravated me almost weekly for two years that he wanted to buy it... so in 1987 when I found a 1970 GTO that I wanted to restore, I gave him the opportunity to "put his money where his mouth is..." But it was all talk... so I decided to rip the Cutlass apart and make a few changes...
|
|
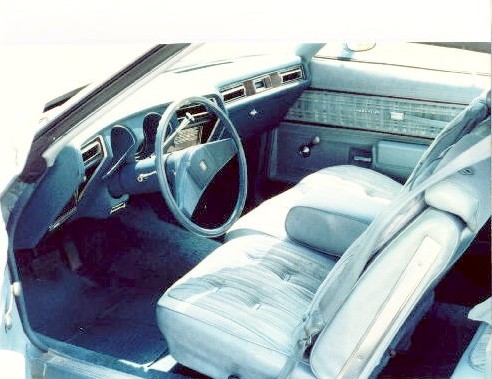
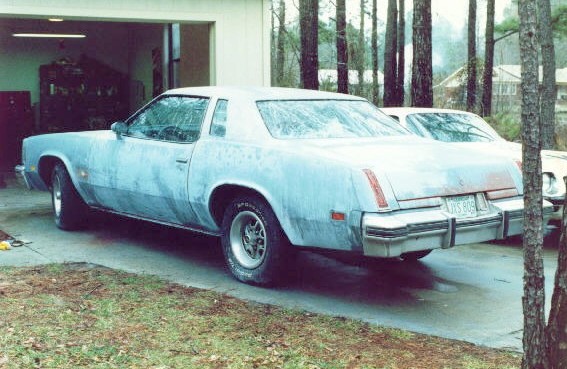
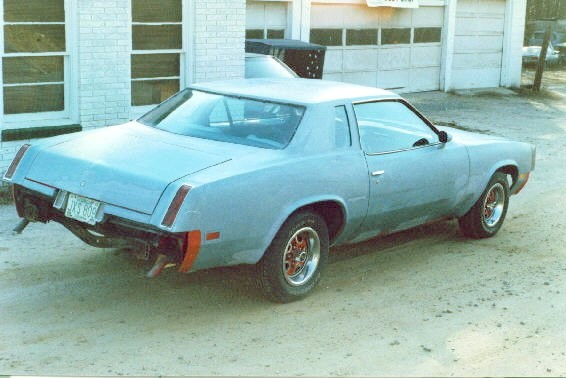
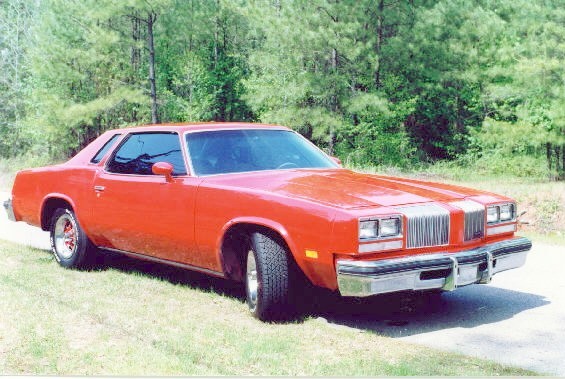
| Not a bad looking car at all, but the "brougham" suspension on this "boat" was terrible!! It was also time for some of the excessive amounts of chrome and moldings, the half vinyl top, and other things to GO!! | Check out the 60-40 split bench seat... it would've really looked cool with buckets, floor console, etc. But it was like sitting on the couch in your living room while driving down the road! |
|
|
| Here's the half-vinyl top being peeled off. Since the rear window molding was made to look like vinyl, I had to get some rear window molding from a non-vinyl top Cutlass. | Then it was time to fill up trim holes for from the vinyl top trim. It was also time to remove some chrome... like the hood chrome, body side moldings, emblems, etc... |
|
|
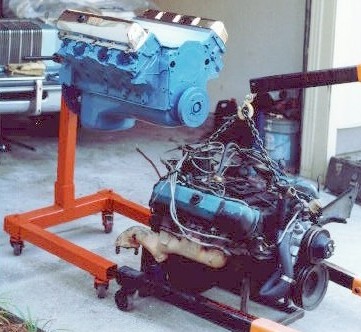
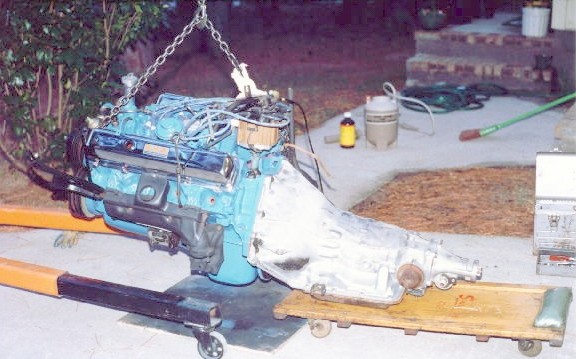
| Before getting the bodywork completed, it was time to get all of the mechanical work complete. The engine, transmission, front and rear suspension, and cooling system were all removed and rebuilt. Shown here is the original 403 Olds engine along with a new long block assembly from Racing Head Service. | A fresh 403 Olds was ordered from Racing Head Service and was dynoed at 300 HP... not bad at all considering it was ordered with a mild, high torque cam typically used for towing applications. I wanted to make sure I could use a stock torque converter. Also shown is a freshly rebuilt Turbo 350 automatic with a shift kit. |
|
|
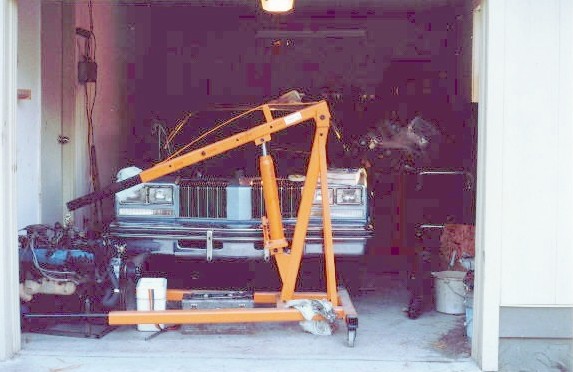
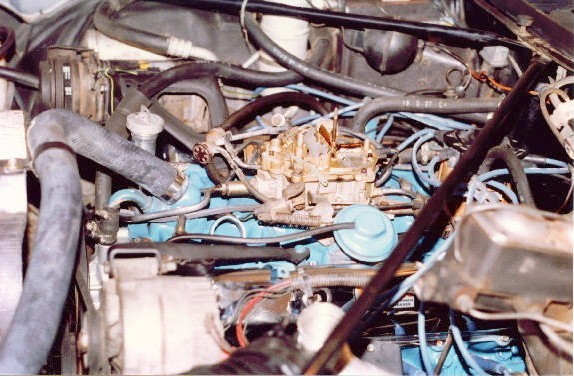
| As you can see, it is REALLY tight trying to build a car in a one-car garage!! I was also working on a 1975 455HO, 4-speed Trans Am, but it was kept outside under a car cover. Working on the Trans Am and the Cutlass helped me to see the similarities of the front suspension parts. It made me think I could put Trans Am suspension parts on the Cutlass... and it worked!! | Here's the new 403 Olds and tranny all bolted back into the car. I rebuilt the Quadrajet and put in new spark plugs, wires, belts, hoses, radiator, etc... and we were ready to fire it up!! But I had to pull it all back out when the small bolt that holds the dip stick tube in the transmission broke off... and I had to remove it all to drill out the broken bolt in the tranny case, chase the threads, and install a new bolt!! |
|
|
| The front suspension was rebuilt using new ball joints, tie rod ends, etc. The front coil springs, steering box, and 1-1/4" sway bar were installed from a 1978 WS6 Trans Am to radically improve the handling from the "brougham." The rear suspension was equally improved using boxed control arms and rear sway bar from a 442 and new Moog variable rate rear coil springs. | With all of the mechanical work completed, it was time to take a test drive and have a true dual, aluminized exhaust system installed (which meant modifying the transmission cross member to add another "hump" in it for both exhaust pipes to clear. With everything working well, it was time to get the body ready for a fresh coat of paint. This where where I got a little out of hand on this project... |
|
|
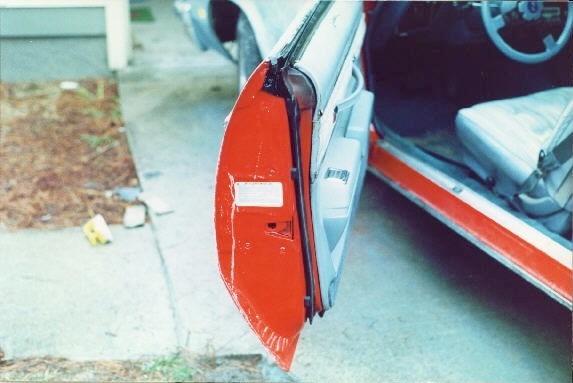
| RED?? You can see where I've already painted the Rallye III styled steel wheels and some of the rubber trim RED! I had picked out a nice dark blue from the new 1988 Pontiacs... but I really like red cars... so the guys at work DARED me to paint it red... | So instead of having a couple of gallons of blue acrylic enamel mixed, I had two gallons of Porsche red mixed and began the color change. |
|
|
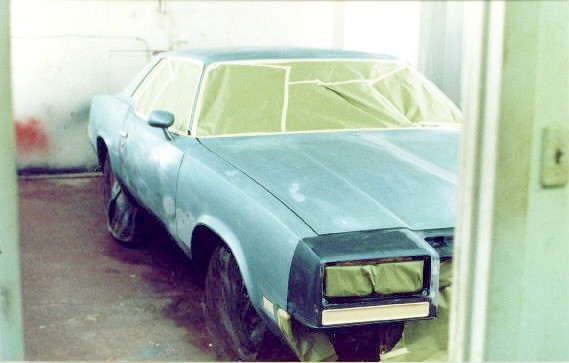
| Whoa dude... that bright red paint and light blue interior almost hurts your eyes to look at it!! Check out my cool blue Trans Am Formula steering wheel. I used an Oldsmobile center cap emblem on the horn button... looks "FACTRY"... at least that's what they'd say where I come from... and that's how they'd say it too!! | The day you always look forward to as a painter... the bodywork is done and it is time to spray the paint!! I rented a spray booth over a weekend at a local bodyshop. Notice how smooth the body looks with a lot of the chrome and the half vinyl top removed. |
|
|
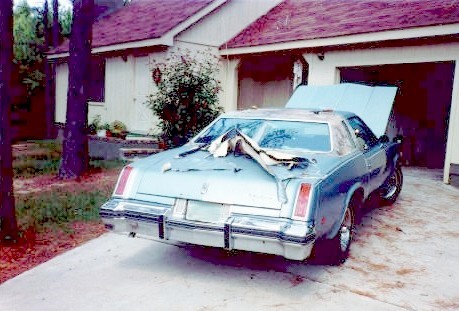
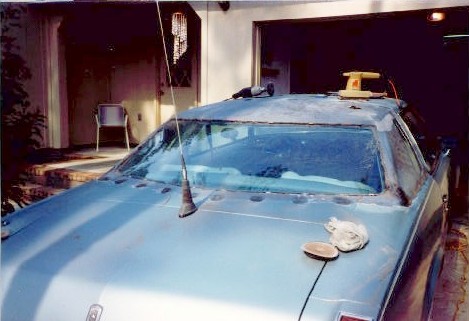
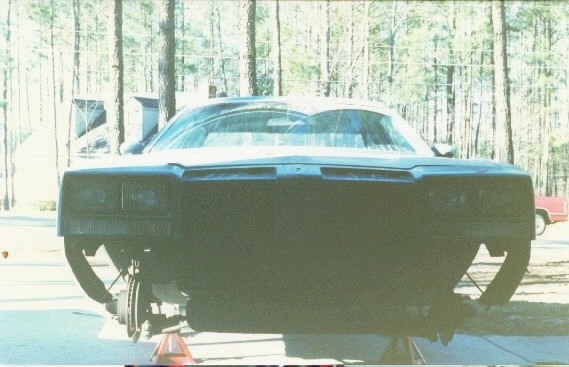
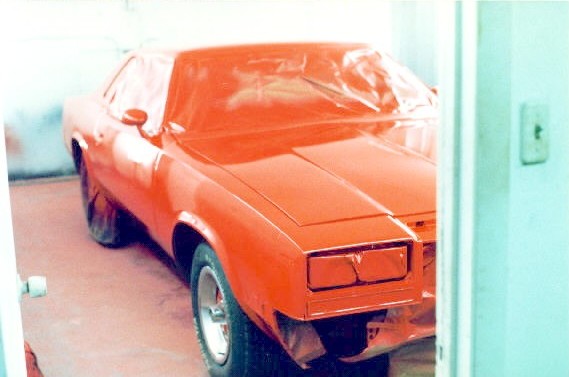
| Hey, where'd that dark blue nose come from? Well, while building the Cutlass, I was getting my 1975 455 HO, 4-speed Trans Am running (that's a whole other story). The battery was weak, it died, I couldn't get it started, I was at the bottom of a hill... so I ALONE was using the Cutlass to push the Trans Am back up the hill to my driveway. When I crested the hill, the rear bumper on the Trans Am jumped the front bumper on the Cutlass and... you guess it... WHAM!! There goes the fiberglass nose and the grilles on the Cutlass. The make matters worse, the bumpers locked and I had the street blocked with a two car accident and only ONE driver!! So I had to make a junkyard run to get this dark blue nose and some grilles. | Here's your "before" and "after" set of pictures. To the left, you see the "before" paint, and above you see the "after" paint. The painting process was very enjoyable... except for my paint gun wanting to be a pain, but thankfully we had a spare paint gun and continued on with the fun!! I sprayed a white sealer on the Cutlass, waited the specified amount of time and then sprayed 5 coats of Porsche red acrylic enamel on it. I know, you only REALLY need 3 coats, but I'm not a great painter, and I'll have to wet sand and buff 1 or 2 coats back off getting everything nice and slick... so it will at least LOOK like I know what I'm doing!! |
|
|
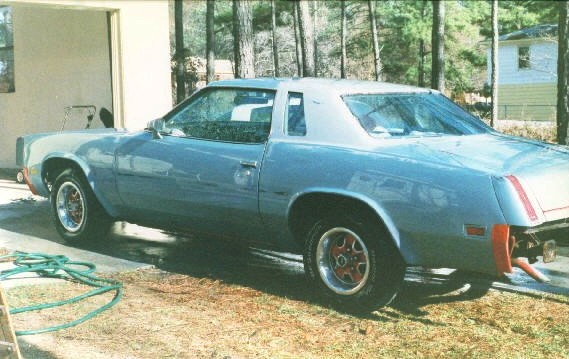
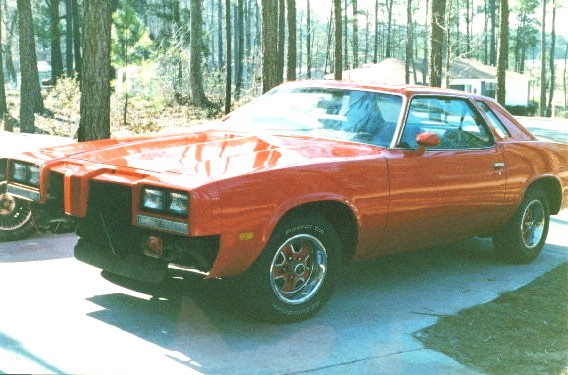
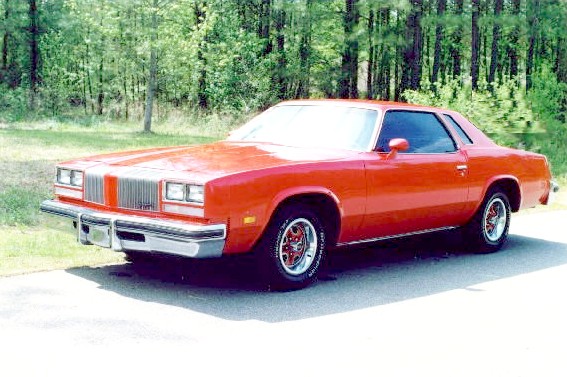
| Back home from the paint booth. Time to reassemble the Cutlass, drive it for a month, then partially disassemble so I can wet sand, buff, and wax the paint. | Here's the finished project!! The paint has been wet sanded, buffed, and waxed. I had the windows tinted too. It looks great and drives even better!! |
|
|
The 1977 Cutlass project was started in June of 1987 and completed in February of 1988. The cost of this project was $3500 and $2200 of that was for the engine from Racing Head Service. It was a GREAT engine, but I could've rebuilt my original engine for half of that cost and dropped my total project cost to $2400. When I removed the original 403 Olds engine with 120,000 miles on it and partially disassembled it in order to put the intake manifold, water pump, fuel pump, brackets, etc on the Racing Head Service 403, I found the original 403 Olds engine to be in excellent shape! It didn't need a rebuild or replacement at all... so that was a lesson learned. Of course the RHS 403 engine has boat loads of torque and a reasonable amount of horsepower. It was a very strong engine... and it had to be since the Cutlass still had the original 2.41:1 open rear axle!! No, it wouldn't fry the rear tire at a stop light, but it would peg the 85 mph speedometer in second gear!! And with the upgraded suspension, you could drive this Cutlass a lot faster than you should!!
The Cutlass was sold in September of 1989 and was totaled by the new owner one week later. The frame was straightened, sheetmetal replaced, and the paint was repaired in January of 1990. The Cutlass was sold to another owner.
In May of 1993, I bought this Cutlass as a wreck for $100. The Cutlass was parted out and crushed.